Mistakes To Avoid When Using A Self-Cleaning Dog Brush: Best Fix In 2026
Common mistakes include harsh pressure, wrong coat tools, and poor cleaning habits.
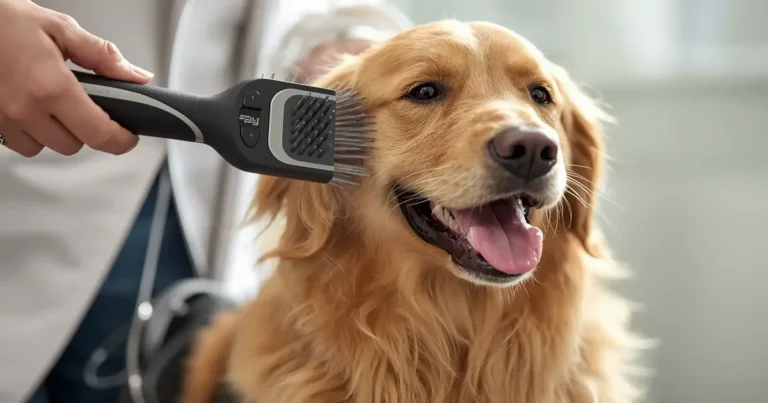
A self-cleaning dog brush can be a game changer. Used well, it cuts shed, keeps skin happy, and saves time. Used wrong, it can scratch skin, break coat, and stress your dog. I’ve tested many models in homes and salons. In this guide, I map the Mistakes To Avoid When Using A Self-Cleaning Dog Brush and show simple ways to fix them fast.

Source: agarolifestyle.com
What A Self-Cleaning Dog Brush Really Does
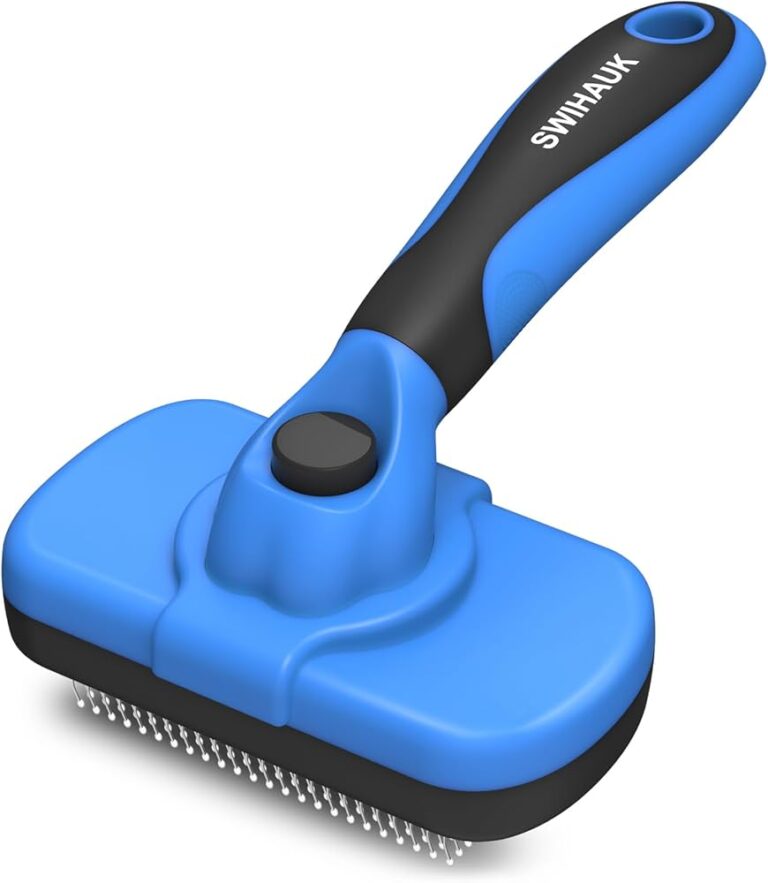
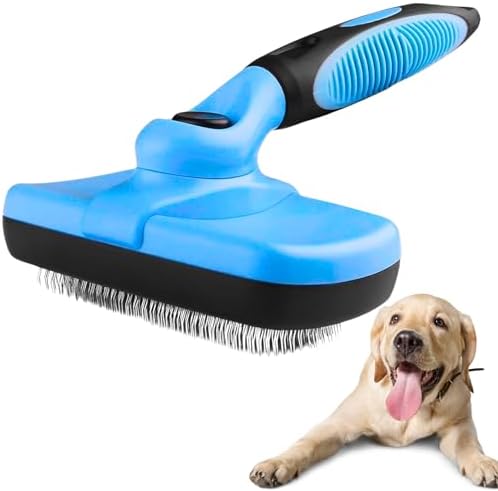
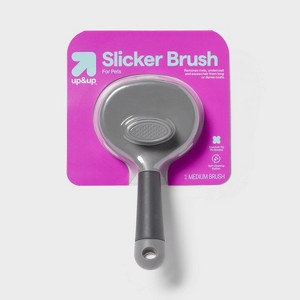
A self-cleaning dog brush is usually a slicker with pins that retract. You press a button to drop the hair from the head. That means quick cleanup, less mess, and fewer clogged pins. It is great for daily coat care and for light de-shedding.
But it is not a mat remover or a cure for neglect. It will not replace a comb for deep checks near the skin. It also cannot fix a coat that is filthy, packed, or wet. Know its job and you will get the best result.
Key Mistakes To Avoid When Using A Self-Cleaning Dog Brush include using it on wet fur, skipping prep, and pressing too hard. When you avoid those, your dog will enjoy the session and the brush will last.
Source: stucksoap.com
Mistakes To Avoid When Using A Self-Cleaning Dog Brush: Preparation Phase
Good prep makes the brush glide and protects the skin.
Common prep errors:
- Brushing a dirty or wet coat. Dirt and water add drag and can break hair.
- Skipping the finger check. You must feel for knots, burrs, or hot spots first.
- Ignoring mats. A slicker is not a mat splitter. Use a detangler or comb.
- No line-brushing plan. Start at the bottom layer and work up in small sections.
- Wrong time of day. Choose a calm window after exercise and before meals.
Simple fixes:
- Mist lightly with a safe coat spray. Do not soak the coat.
- Use a wide-tooth comb on problem spots before the brush.
- Keep a small towel and treats on hand to shape a calm mood.
Can I use a self-cleaning brush on a wet coat?
No. Wet hair stretches and snaps. Wait until the coat is fully dry, then brush in layers with short, gentle strokes.
Source: microfiberwholesale.com
Key Mistakes To Avoid When Using A Self-Cleaning Dog Brush During Use
Most damage happens in the first five minutes. Slow down and set a method.
Avoid these errors:
- Pressing too hard. Pins should skim the coat. Heavy force scratches skin.
- Long, fast strokes. Short, slow strokes lift dead hair without pain.
- Brushing only the top. Part the coat and brush line by line near the skin.
- Hitting the same spot again and again. That can cause hot spots and redness.
- Clicking the clean button mid-stroke. Stop, clear hair, then resume.
- Skipping sensitive zones. Handle ears, tail, armpits, and belly with care.
Pro technique:
- Hold the skin with your spare hand to prevent tug.
- Angle the brush so pins meet hair, not skin.
- Count strokes. Three to five passes per section is enough.
From my own grooming notes: when I eased up on pressure and used line brushing, a nervous Husky stopped flinching. Shed improved, and the skin looked calm the next day.
How often should I use it?
Most dogs do well with two to four short sessions per week. During heavy shed, daily sessions of five to ten minutes work best.

Source: tineco.com
Coat-Specific Pitfalls To Avoid
Each coat needs a tweak in method and gear.
Short coat breeds
- Mistake: Overbrushing to “get more shed.”
- Fix: Use very light pressure. Two passes per area are enough.
Double coat breeds
- Mistake: Forcing pins into the undercoat at a steep angle.
- Fix: Brush with the lay of the coat in layers. Pair with an undercoat rake weekly.
Curly or woolly coats
- Mistake: Slicker only, no comb check.
- Fix: Brush, then run a metal comb to the skin. If the comb snags, you still have knots.
Silky coats
- Mistake: Dry brushing with no slip.
- Fix: Use a light detangling spray. Support long strands with your fingers.
Wiry or hand-stripped coats
- Mistake: Replacing stripping with heavy slicker work.
- Fix: Keep slicker use light. Maintain texture with proper stripping tools.
These are real Mistakes To Avoid When Using A Self-Cleaning Dog Brush. Match your brush and plan to your dog’s coat type for safe results.

Source: amazon.com
Cleaning, Disinfecting, and Storage Mistakes
Self-cleaning does not mean self-sanitizing. The button just ejects hair.
Avoid these hygiene errors:
- Not clearing hair after each section. Packed pins tug and scratch.
- Never washing the brush head. Oils build up and hold bacteria.
- Soaking the mechanism. Water can rust springs and jam the button.
- Skipping disinfection after skin issues. Use a pet-safe spray and let it dry.
Best practices:
- Click to eject hair often during use.
- Wipe pins with a damp cloth and mild soap weekly. Dry at once.
- Store with pins retracted in a dry place.
- Check for bent pins and sharp burrs every month.
If the button sticks, a tiny drop of food-grade mineral oil at the pivot helps. Wipe off any extra before use.
These care steps cut many Mistakes To Avoid When Using A Self-Cleaning Dog Brush and make your tool last.
Source: tineco.com
Health And Safety Oversights
Skin is a living organ. Treat it with respect.
Common safety slips:
- Brushing over hot spots, rashes, or wounds. That spreads damage.
- Missing signs of pain. Flinching, lip licking, or whale eye means stop.
- Brushing too soon after vaccines or surgery.
- Ignoring fleas or ticks. Brush can spread debris and itch.
What experts teach:
- Gentle grooming supports the skin barrier and reduces trapped dander.
- Too much friction can cause micro-scratches and invite infection.
Practical rules:
- Check the skin each session in good light.
- Keep sessions short for puppies and seniors.
- If you see redness that lasts, rest the area and call your vet.
Following these keeps you clear of Mistakes To Avoid When Using A Self-Cleaning Dog Brush that lead to vet visits.

Source: agarolifestyle.com
Product Selection And Quality Mistakes
Choice matters as much as method.
Avoid:
- Pins that feel rough or have burrs. They scratch.
- A head that is too big for your dog. It misses tight spots.
- Stiff springs that need hard clicks. That strains your hand.
- Counterfeit tools with weak welds.
Smart picks:
- Test pins on your inner wrist or a nylon stocking. No snags means safer tips.
- Choose an ergonomic handle for wrist comfort.
- Match head size to your dog’s body. Small head for face and legs.
- Buy from trusted brands with clear warranty.
The wrong tool makes more Mistakes To Avoid When Using A Self-Cleaning Dog Brush no matter your skill.
Source: target.com
Training And Comfort Mistakes
You are teaching a habit, not running a race.
Avoid:
- Forcing a full groom on day one.
- Chasing your dog with the brush.
- Brushing without reward.
Build trust:
- Pair the brush with a treat. Touch, treat, and release.
- Start with 30 seconds. Add time slowly.
- Keep a steady voice and calm breath.
- End on a win, not when your dog is done tolerating it.
A small shift in vibe can erase many Mistakes To Avoid When Using A Self-Cleaning Dog Brush. A happy dog stands still and sheds stress, not just hair.

Source: petful.com
Troubleshooting And Real-World Scenarios
Problem: Hair piles up on the pins and will not drop.
- Fix: Click the button with pins facing down. Tap the head on a bin rim. Wipe pins dry and try again.
Problem: Static makes hair reattach.
- Fix: Lightly mist the coat or the brush head with a grooming spray. Avoid soaking.
Problem: Dog yelps at the flank.
- Fix: Check for a knot or skin issue. Brush around it. Treat the area with extra care or see your vet.
Problem: The button jams mid-session.
- Fix: Eject hair, then press and release a few times. Clean the groove with a dry cotton swab.
I once had a Lab who hated the sound of the click. I clicked the button behind my back, fed a treat, and built a new link. In two days, he stood calm for full sessions.
Use these steps to dodge common Mistakes To Avoid When Using A Self-Cleaning Dog Brush in daily life.
Frequently Asked Questions of Mistakes To Avoid When Using A Self-Cleaning Dog Brush
Can a self-cleaning dog brush replace a comb?
No. The brush lifts loose hair, but a comb checks to the skin. Use both tools for a full groom.
Is it safe for puppies?
Yes, if you use a soft, small head and very light pressure. Keep sessions under three minutes and reward often.
Will it reduce shedding completely?
It reduces loose hair but cannot stop natural shed. Regular, short sessions control shed and keep the coat healthy.
How do I know I am pressing too hard?
Look for skin flattening or pink lines after a pass. If you see those, ease up and shorten your strokes.
Can I share one brush between dogs?
You can, but clean and disinfect between dogs. This helps prevent spread of dander, oil, and any skin issues.
Conclusion
Small changes make big gains. Choose the right brush, prep the coat, use gentle, short strokes, and clean the tool. Watch your dog’s body language and adjust the plan. Keep this list of Mistakes To Avoid When Using A Self-Cleaning Dog Brush in mind, and you will see less shed, fewer tangles, and a calmer pet.
Ready to level up your routine? Try the steps this week, track results, and share your wins. Subscribe for more grooming guides, or leave a comment with your dog’s coat type and challenges.